Configuring the Public Product Library
The contents of your organization's Public Product Library are based on your organization’s product library configuration. You can configure it further with additional tagging and product visibility.
Make sure you Enable the Public Product Library (PPL) before attempting these steps.
Managing the Public Product Library (PPL)
Edit and Share Product Settings to Public Product Library (Back End)

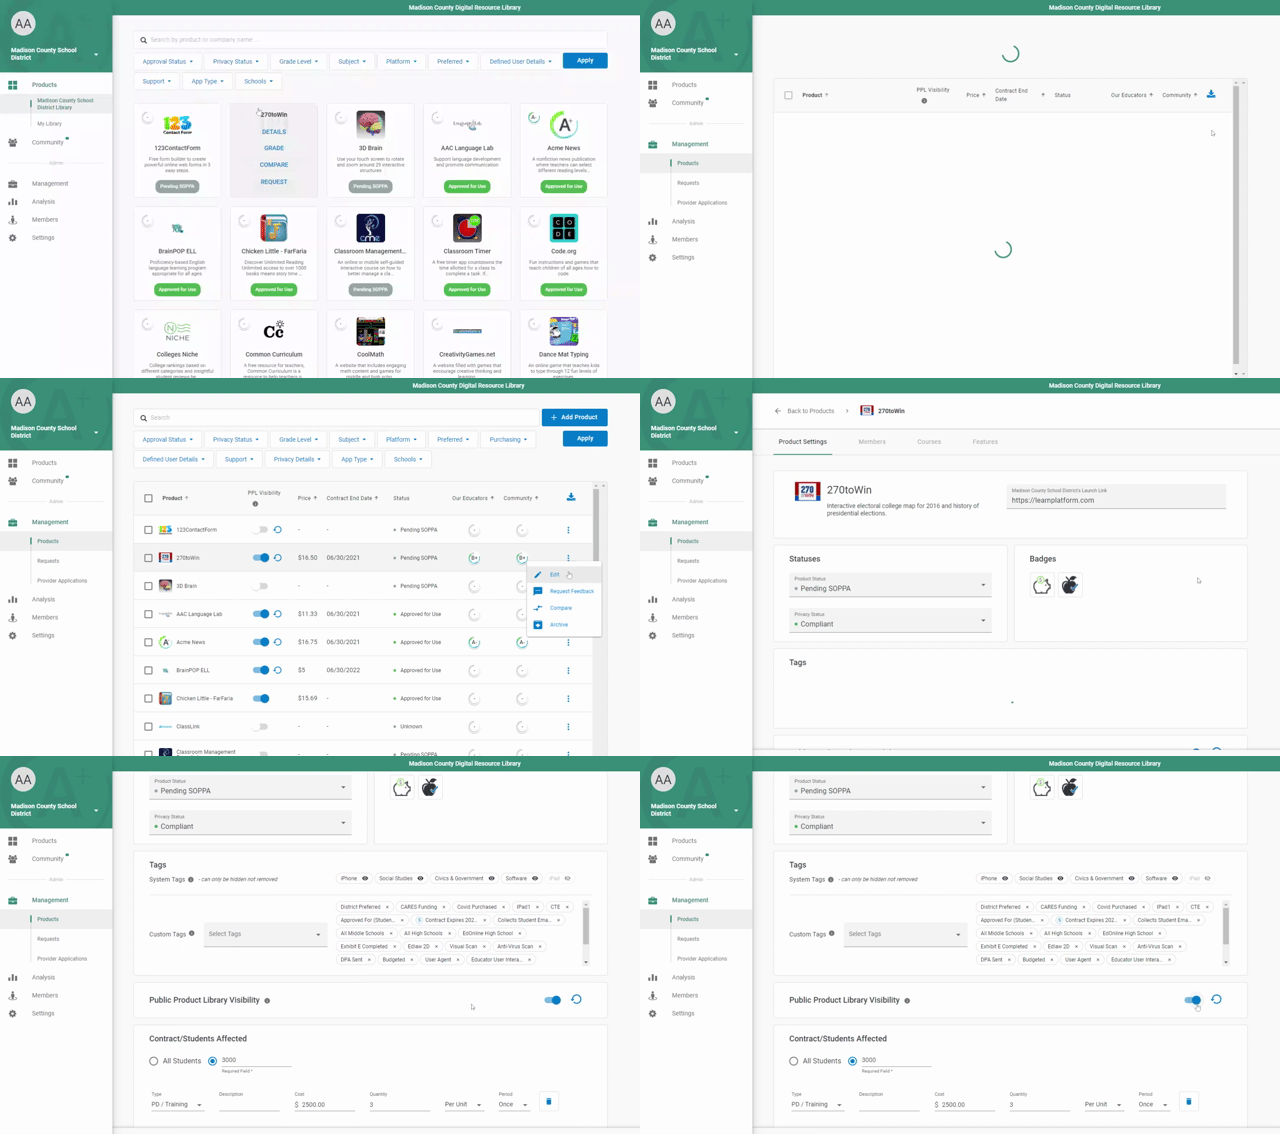
- Go to Management > Products and click any product to edit the product settings.
- Once in the Product Settings tab, add product details to the Public Product Library including:
- Launch Link - automatically shares if added
- Product Status/Privacy Status - controls product visibility in the Public Product Library
- Contract Expiration Date - use toggle to share
- Comments - use toggle to share
- Resources - see How To Manage Product Resources
Edit Product Settings From the Public Product Library Edit Mode (Front End)
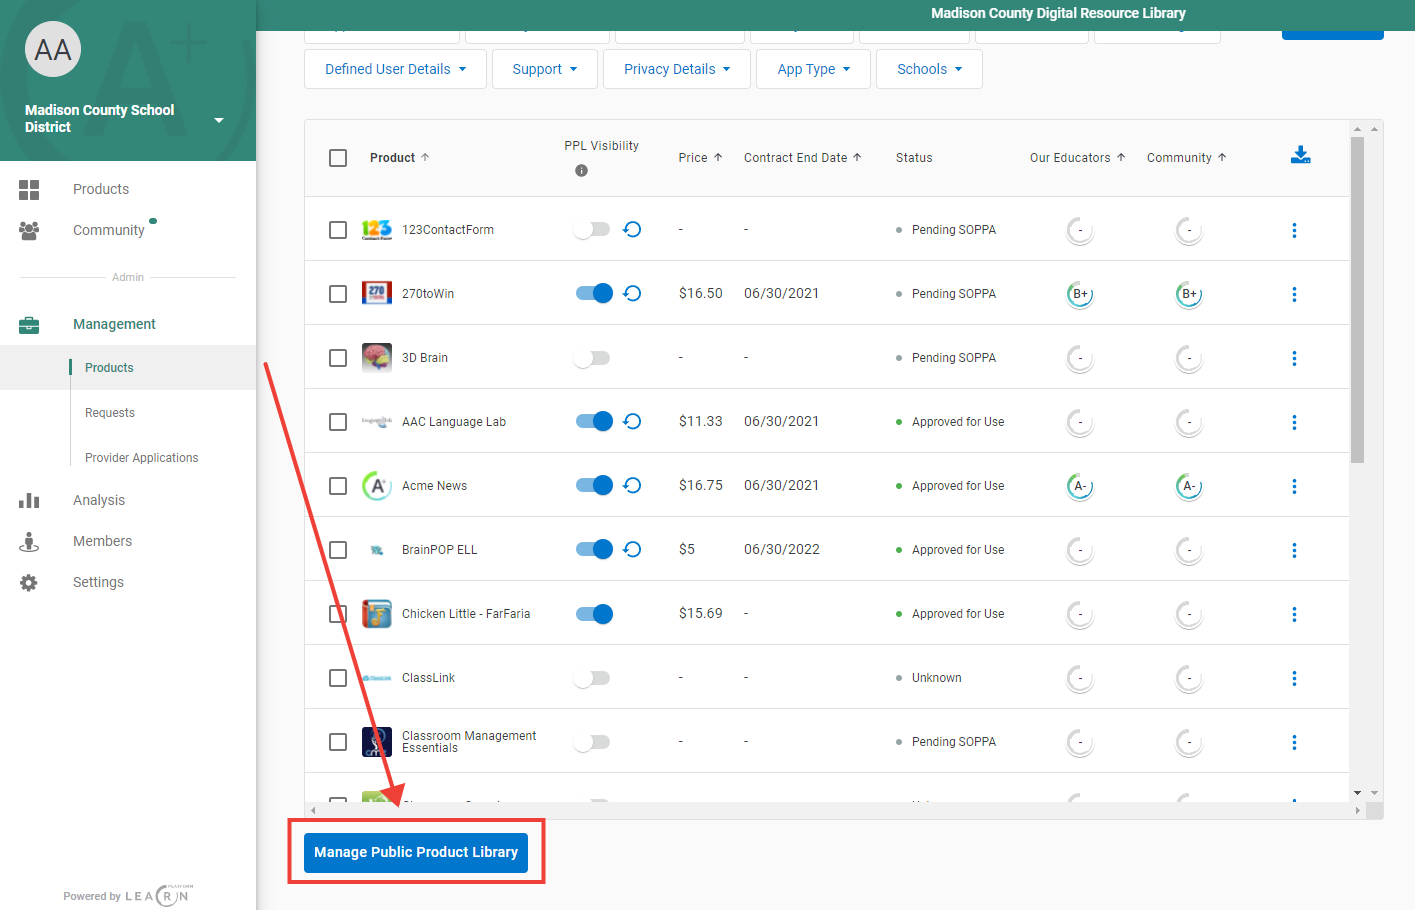
- Go to Management > Products > Manage Public Product Library (button at the bottom of the page).

- From Edit Mode, you can edit your PPL's name, intro text, column visibility, and tags for each product.

- To edit a product's details click on that product. You will be able to edit product comments and add/edit/remove resources from this view.

Editing, Adding, or Removing Public-Facing Product Statuses
- In the Admin menu, access the Settings section and click on Statuses. Choose an existing product status and click on Edit.
- OR scroll to the bottom of the section and select the Add Product Status or Add Privacy Status button to add a new status
- Once you have selected add/edit you will enter the Edit Product Status screen

- In order to show up in your Public Product Library, a product must check (✔) "Include products with this status in the Public Product Library"
- To delete an existing status, click on Remove. A confirmation will pop up telling you that any products that hold that status will automatically be migrated to the underlying system status.
