How To Manage Product Resources
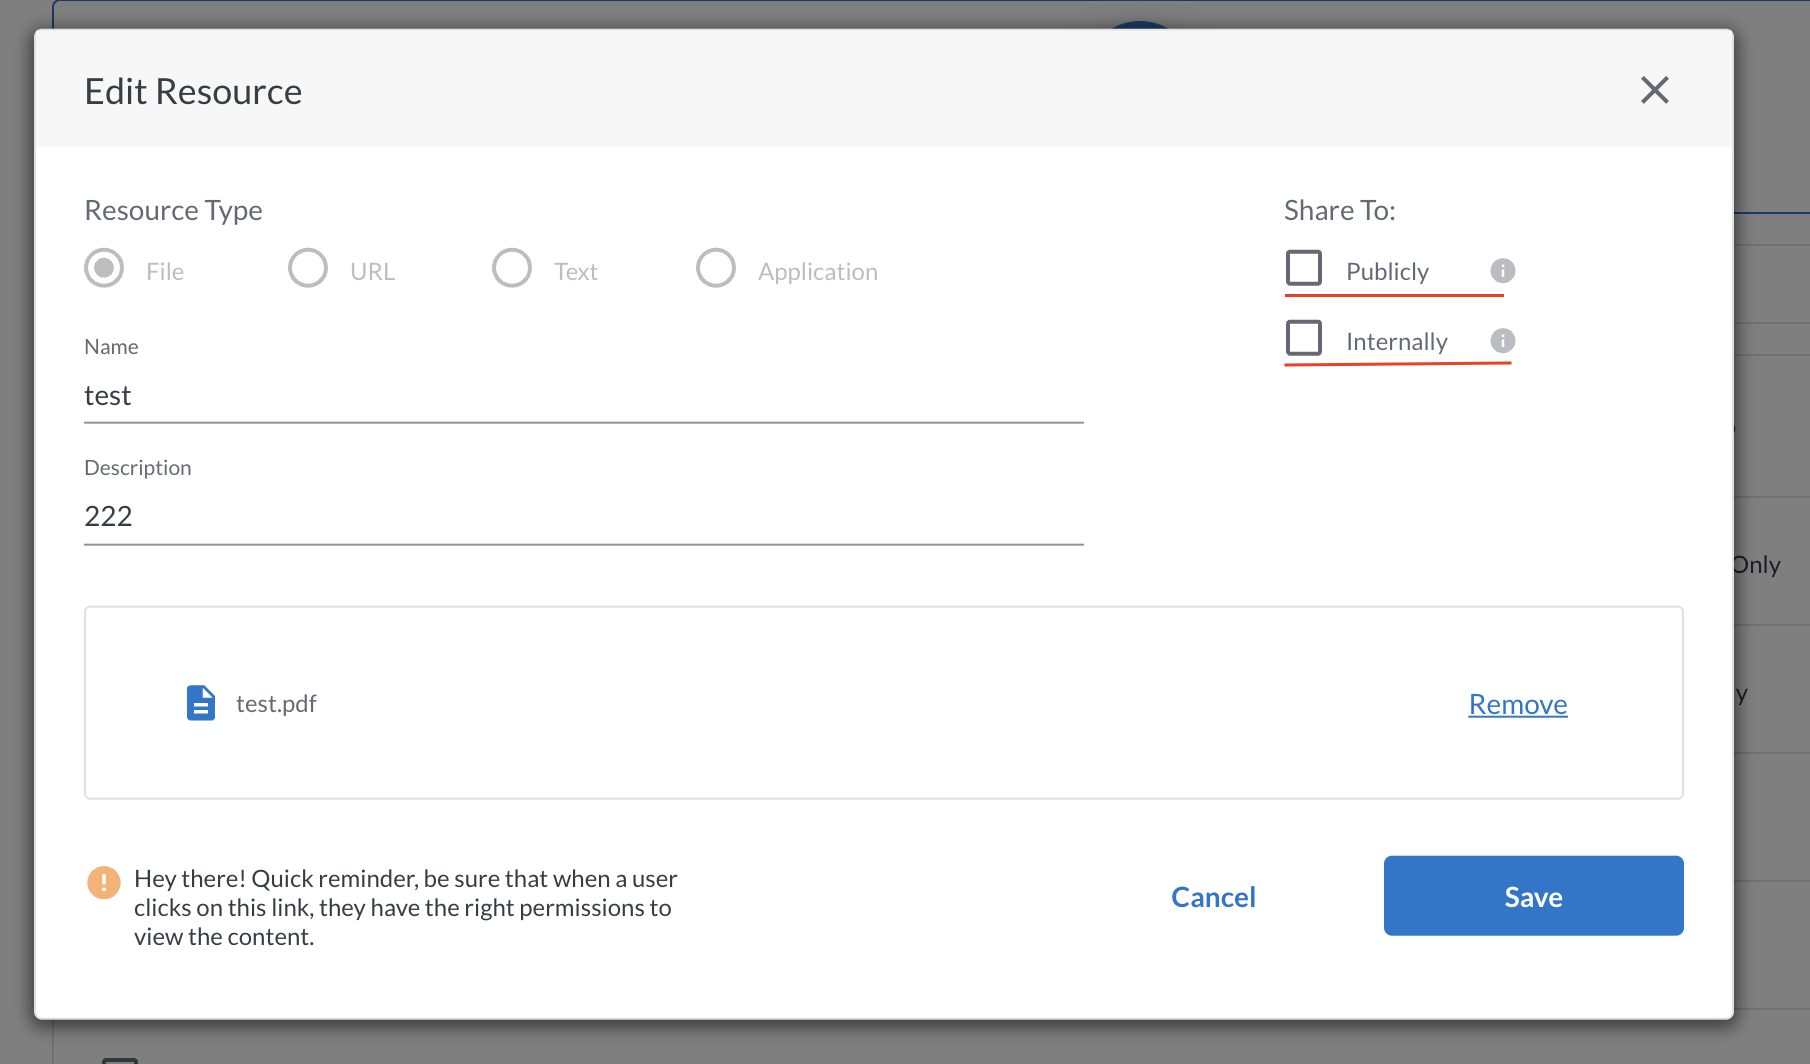
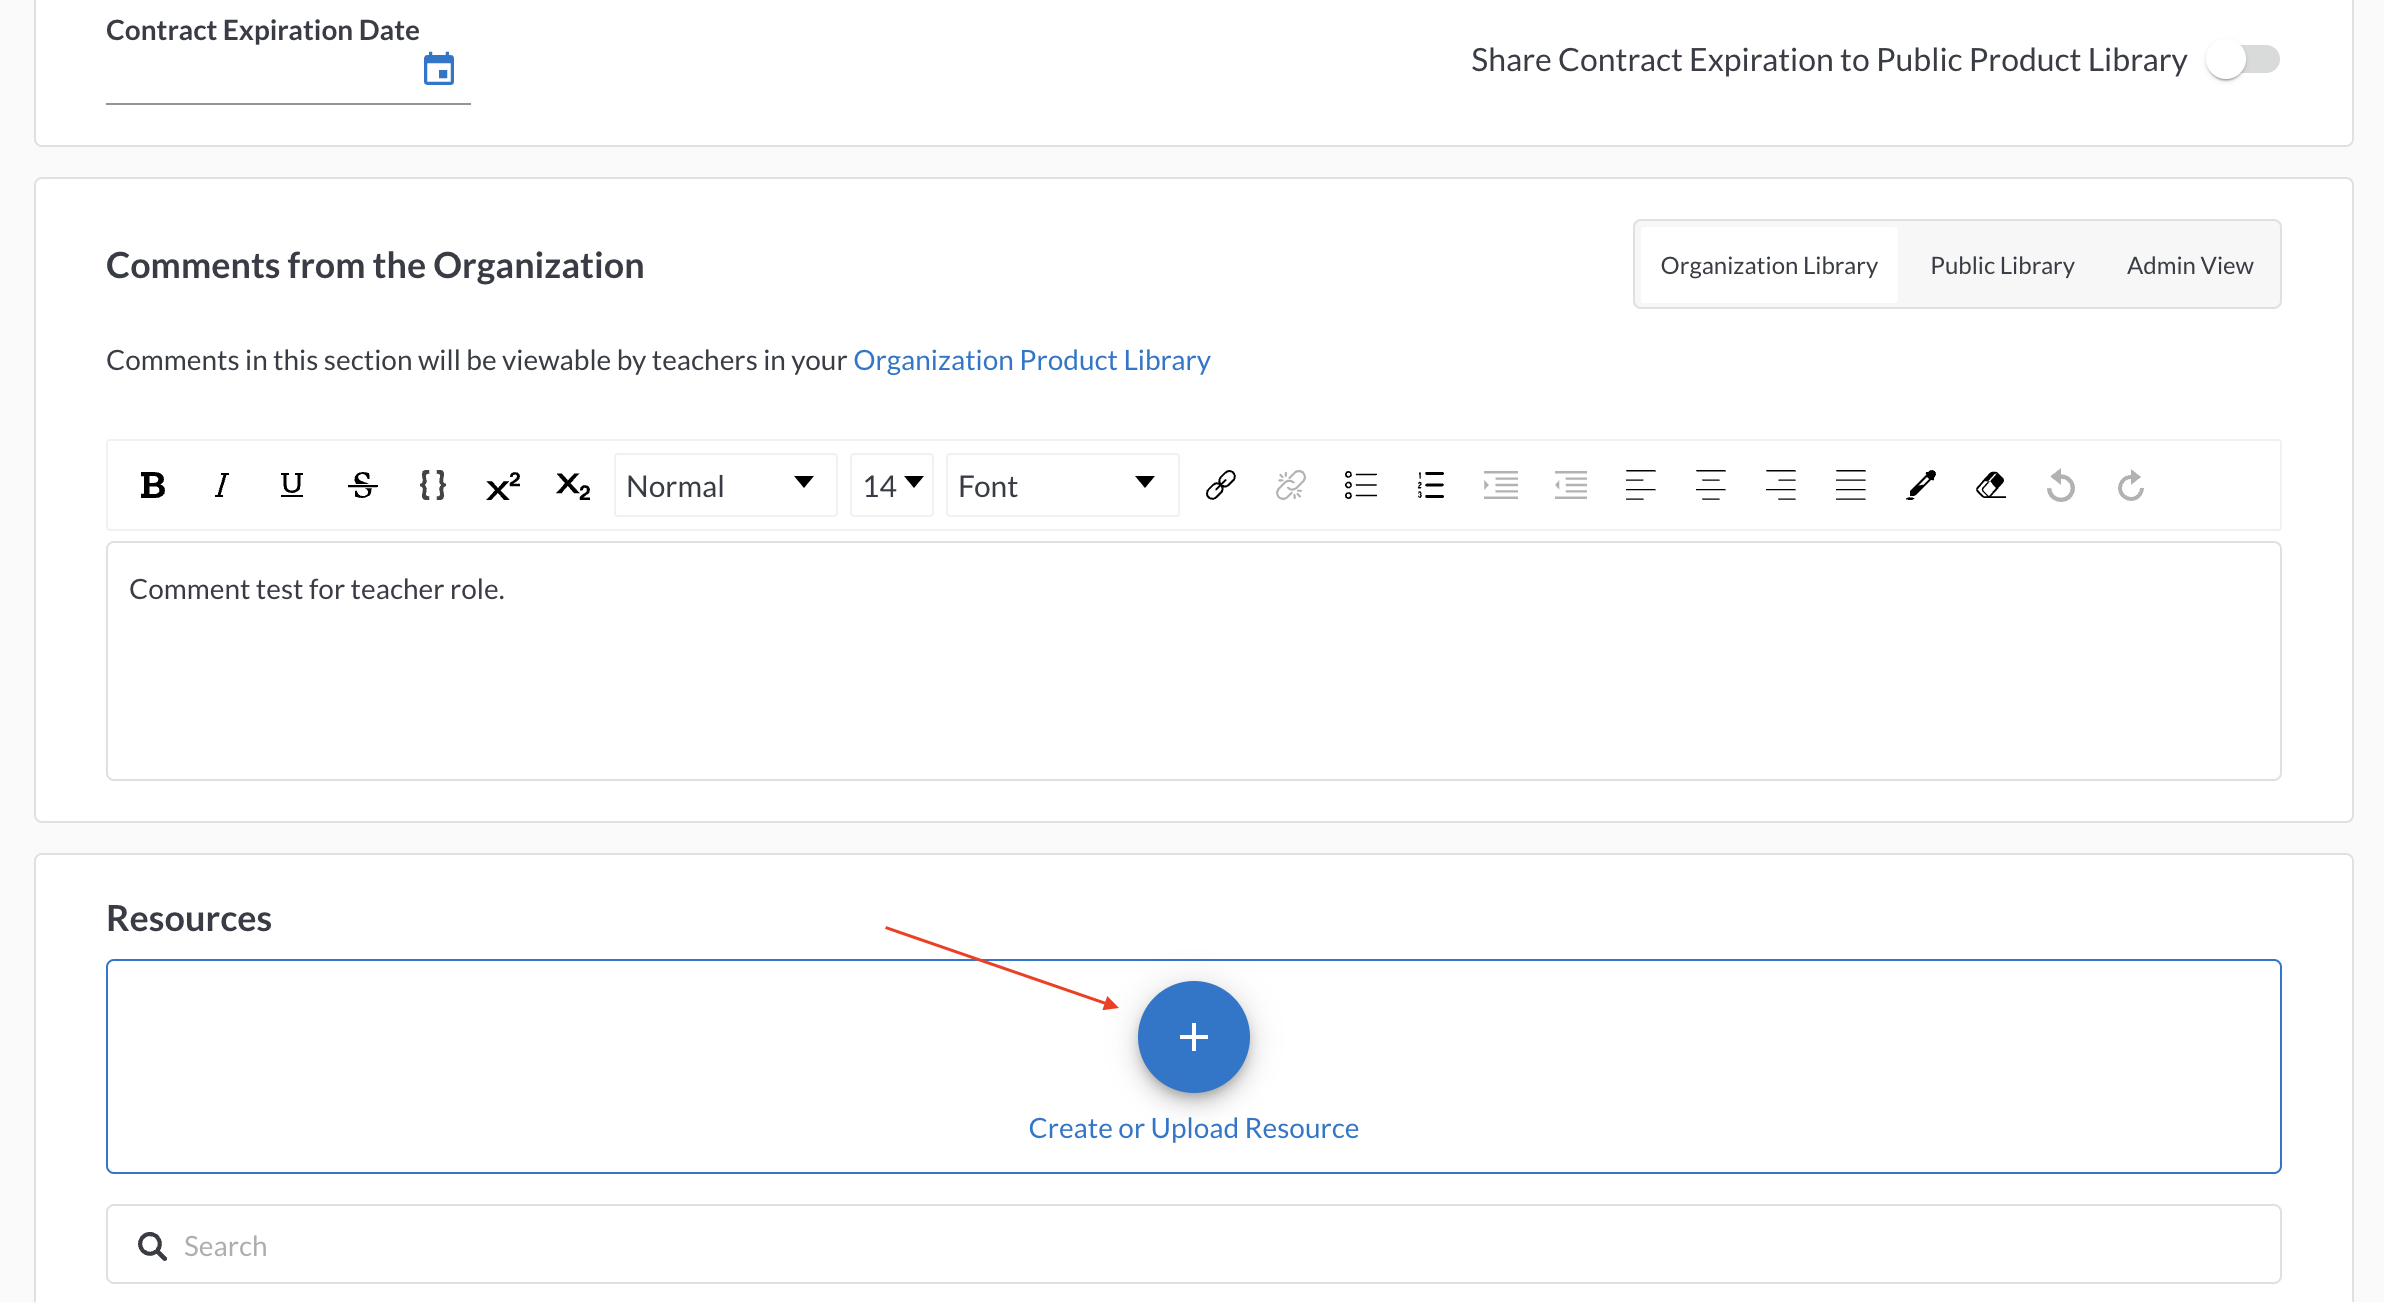
Share product-specific resources and information with those who need it. You can select who has access to resources; share with fellow administrators, internally with educators, and publicly with parents or other external stakeholders. Resources can be added in the form of a file, URL, or open text.
Examples of public resources include:
- Privacy agreements or terms and conditions
- Permission forms
- Student login information
Examples of admin only resource include:
- Purchase orders
- Contracts
- Vendor contact information
Examples of internal (for educators and other staff) resources include:
- Implementation guides
- Curriculum resources
- District access codes
- Login details
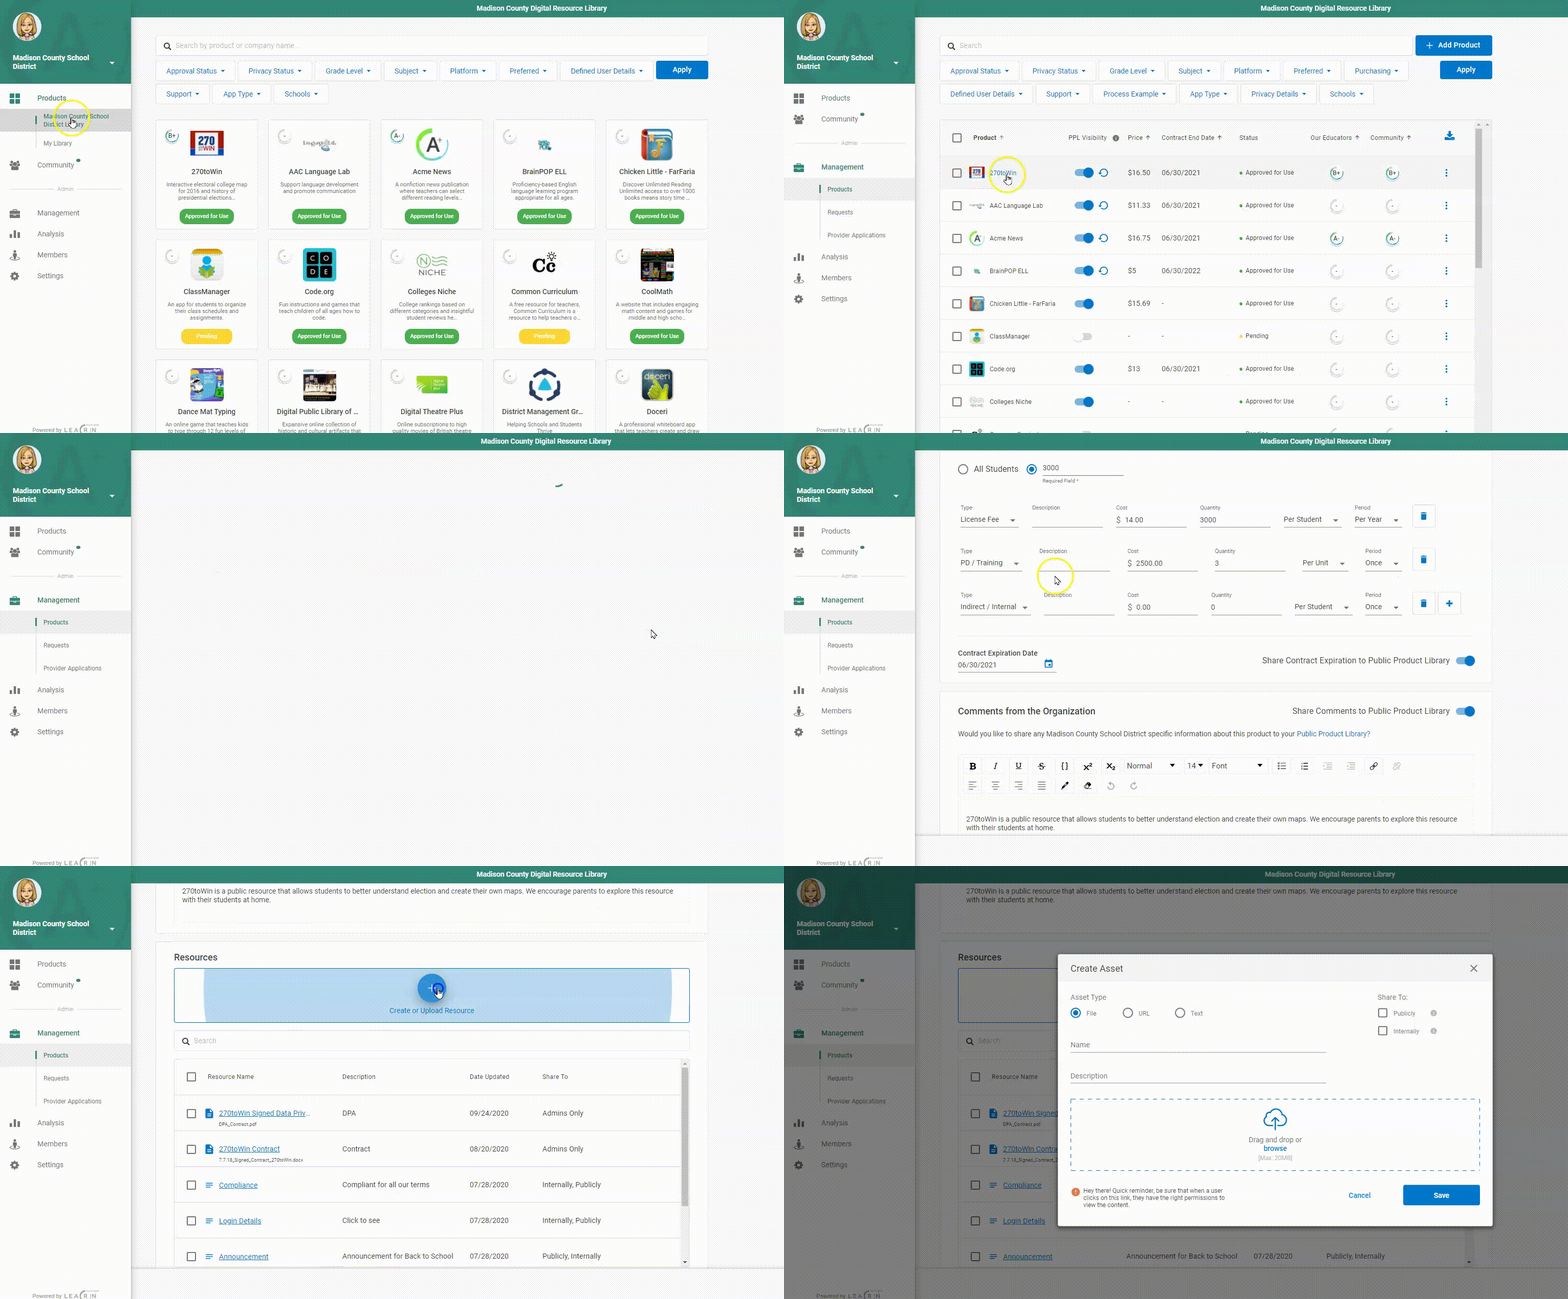
Add Resources to Product Details |
|
|
 |
|
Where do my resources appear?
Resources designated as "Internal resources" will be displayed in the Resources section in the organization’s library (Products > Details > Resources) |  |
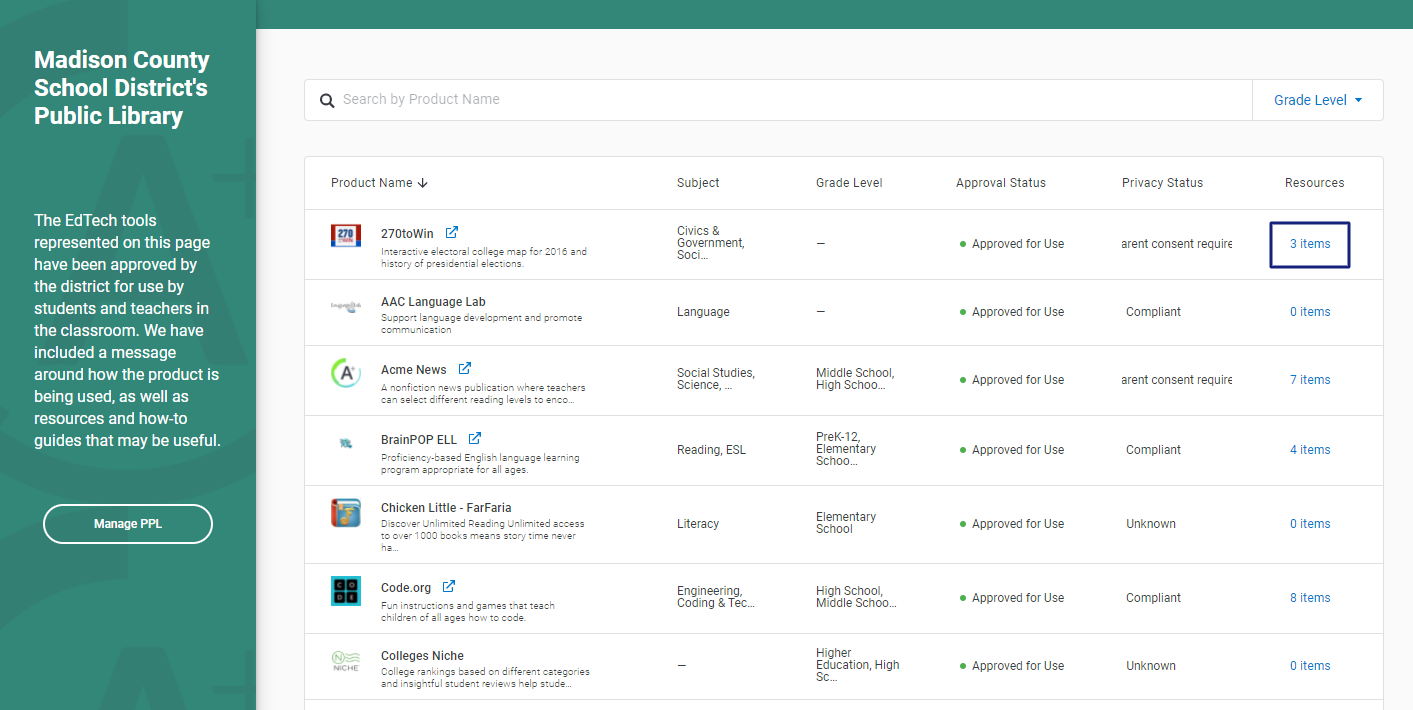
Resources designated as "Public" will be displayed in the Public Product Library in the resources column. For more information see Public Product Library. |  |


