How To Set a Product Status
Setting a Product Status
The first step to setting a product status is customizing these for your organization. If you have not set custom statuses yet, see configuring custom statuses.
Set a Product Status from your Management Tab
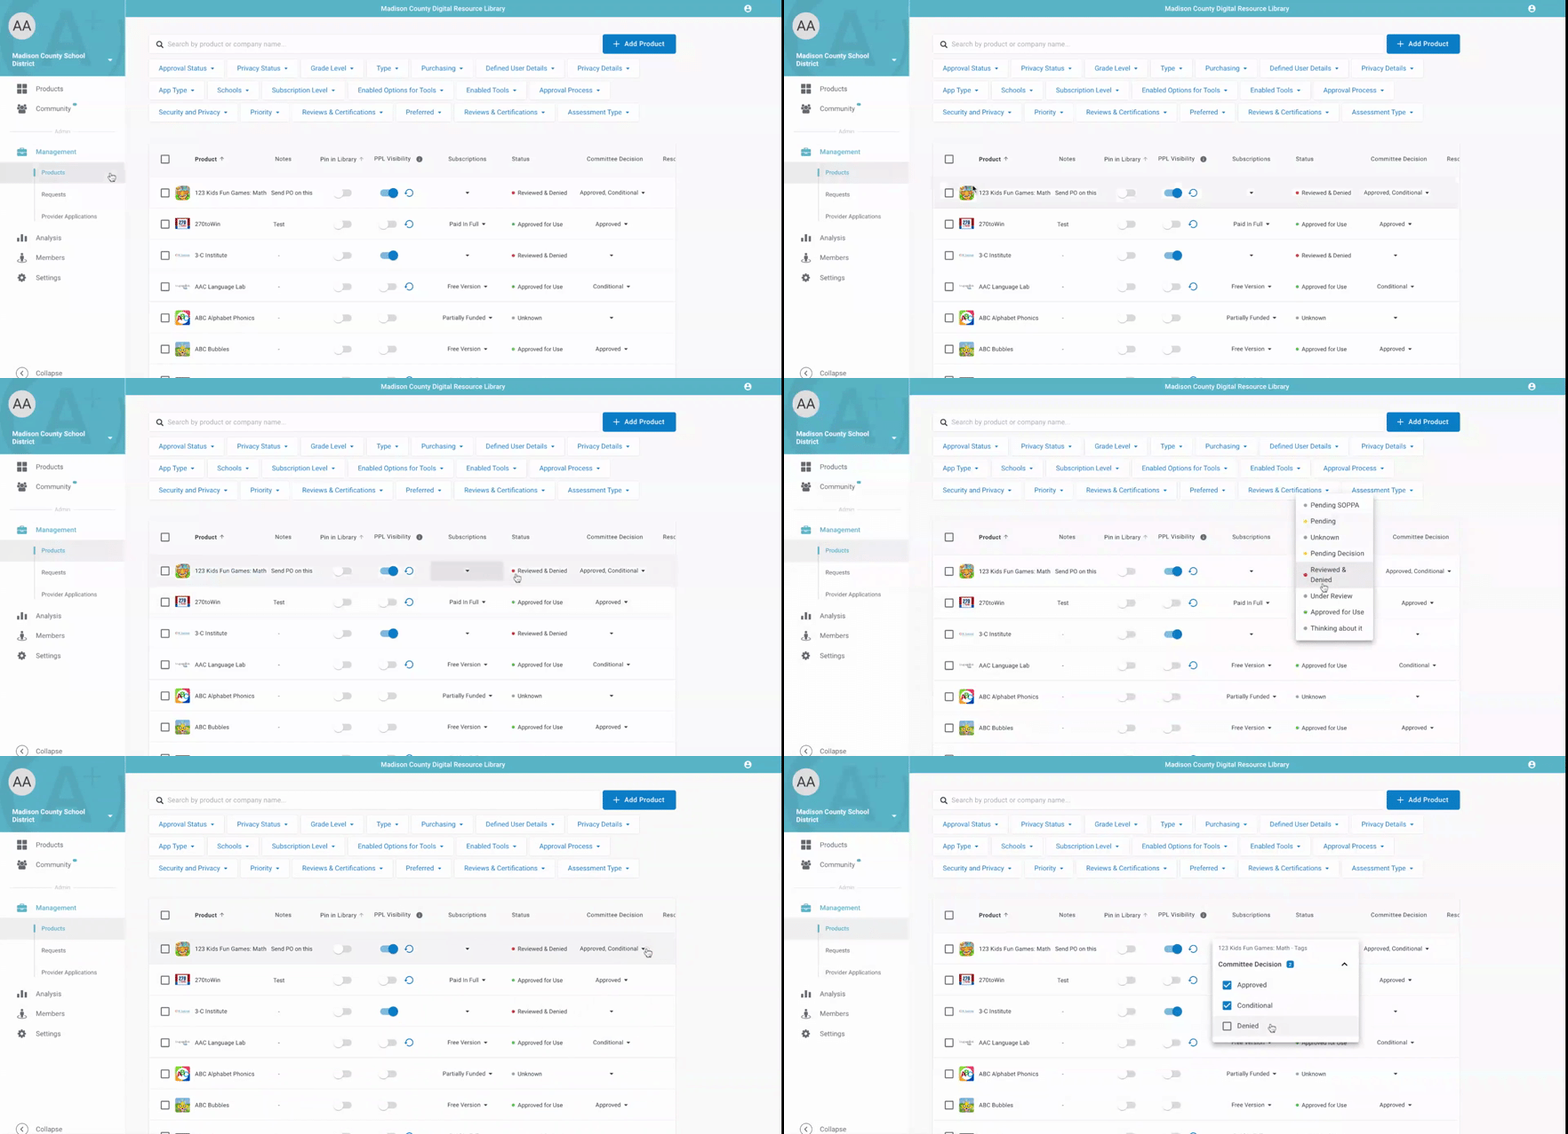
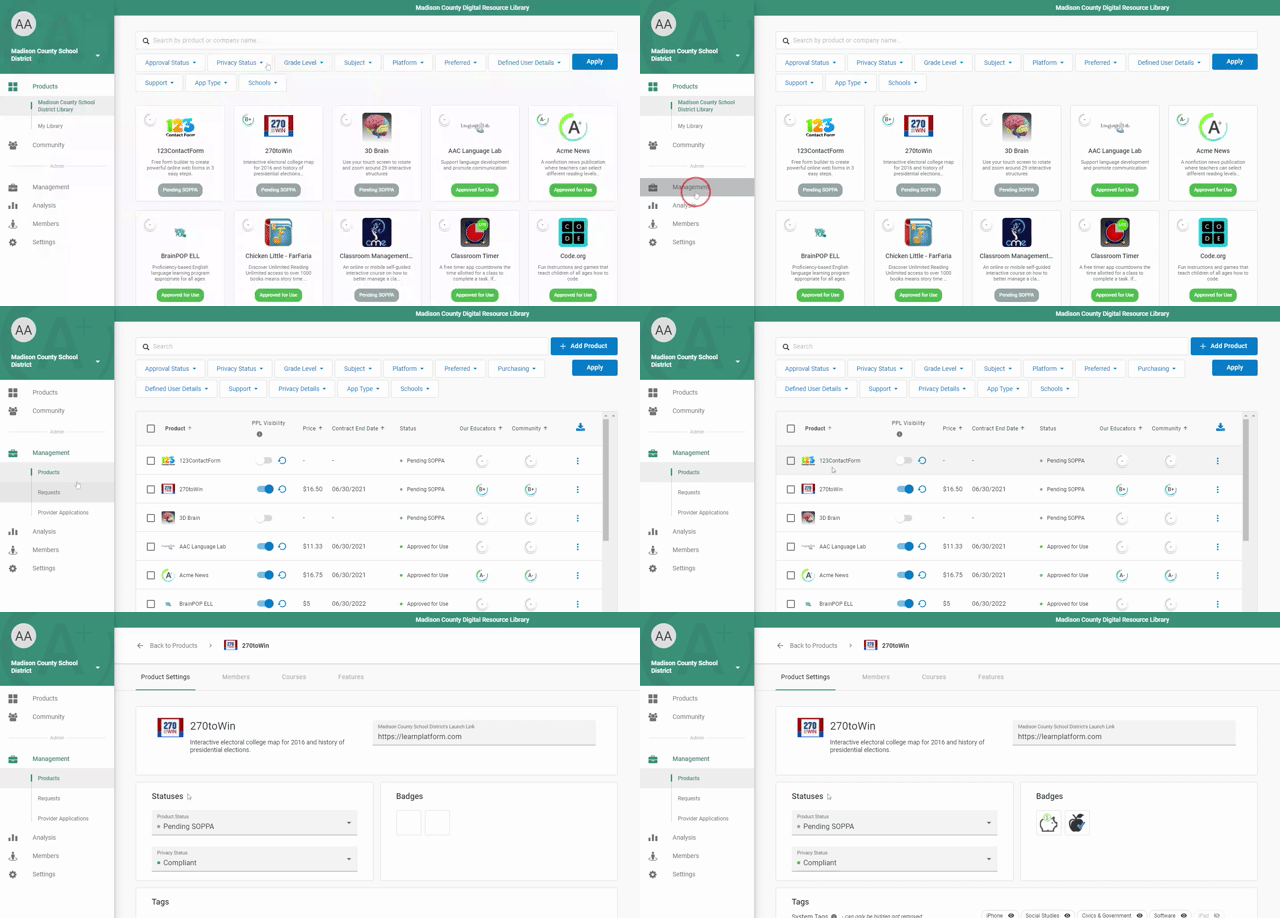
Once you have set the product statuses for your organization, you can update a product status for a product in Management > Products. From this view, you can update a product's statuses or any other labels based on custom columns.

You can also update a status for a product in Management > Products > click on a product’s name.

Within the product settings tab, scroll to the Statuses and Badges section. Select a product status and/or Privacy Status from the drop-down.

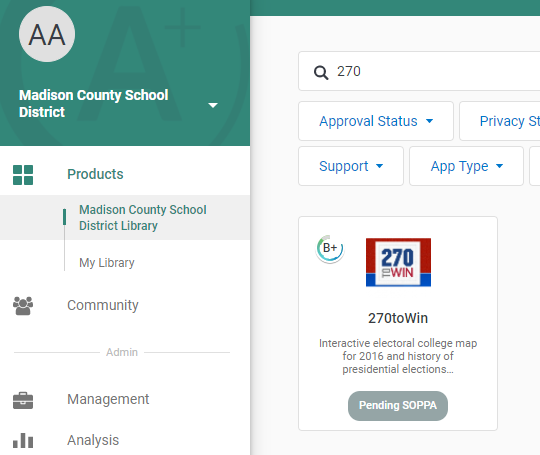
This status will be reflected in your product library:

The LearnPlatform product library has the capability to filter by product statuses so your educators can filter the noise and focus on products that have, for example, been approved for use by the district or are pending approval.
